Auchmachar Clump
Wood, Forest in Aberdeenshire
Scotland
Auchmachar Clump
Auchmachar Clump is a small but significant woodland located in Aberdeenshire, Scotland. Nestled within the picturesque countryside, this forested area covers approximately 10 acres of land. The clump is situated near the village of Auchmachar, just a few miles south of the bustling town of Turriff.
The woodland consists primarily of native broadleaf trees, such as oak, birch, and beech, creating a diverse and vibrant ecosystem. The dense canopy of foliage provides a haven for a variety of bird species, including woodpeckers, owls, and thrushes. It is also home to numerous small mammals, such as squirrels and voles.
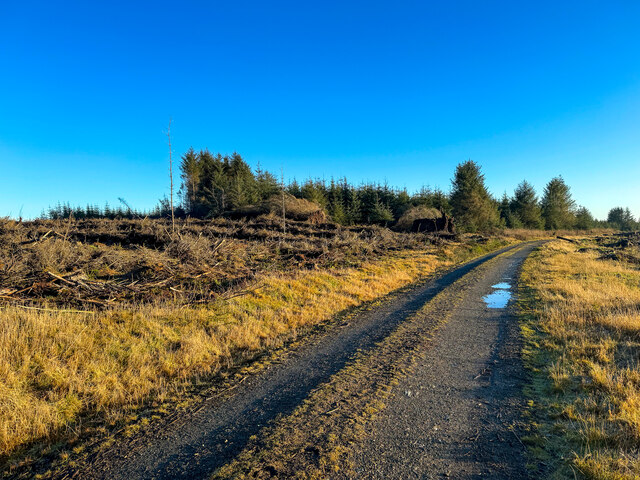
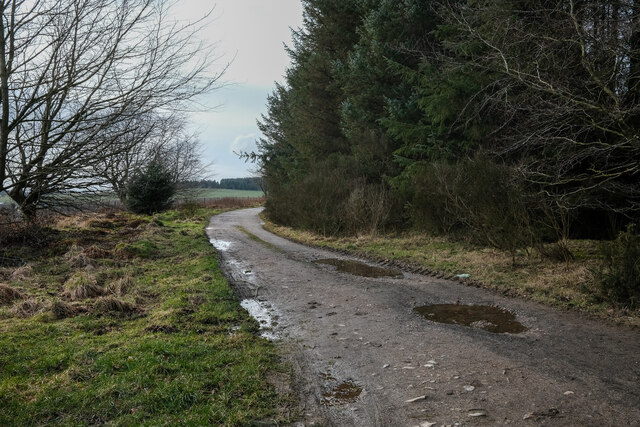
Auchmachar Clump boasts well-maintained walking trails that wind their way through the forest, allowing visitors to explore its beauty at their leisure. The paths are relatively easy to navigate and are suitable for individuals of all ages and abilities. The tranquil ambiance and lush surroundings make it an ideal spot for nature lovers, hikers, and those seeking a peaceful retreat.
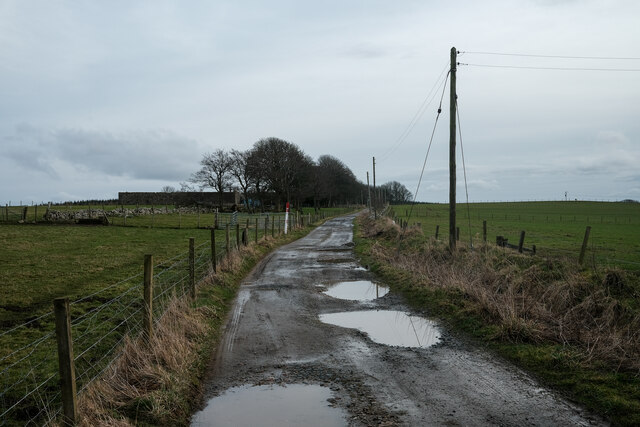
The clump offers stunning views of the surrounding countryside, with rolling hills and fields extending as far as the eye can see. There are also several picnic areas scattered throughout the woodland, providing an opportunity for visitors to relax and enjoy a meal amidst nature.
Auchmachar Clump is a cherished natural gem in Aberdeenshire, offering a serene escape from the hustle and bustle of everyday life. Whether you are looking for a leisurely stroll, a bird-watching adventure, or a peaceful picnic spot, this woodland has something to offer for everyone.
If you have any feedback on the listing, please let us know in the comments section below.
Auchmachar Clump Images
Images are sourced within 2km of 57.54049/-2.0833713 or Grid Reference NJ9550. Thanks to Geograph Open Source API. All images are credited.


Auchmachar Clump is located at Grid Ref: NJ9550 (Lat: 57.54049, Lng: -2.0833713)
Unitary Authority: Aberdeenshire
Police Authority: North East
What 3 Words
///tanks.mealtime.forgot. Near Mintlaw, Aberdeenshire
Nearby Locations
Related Wikis
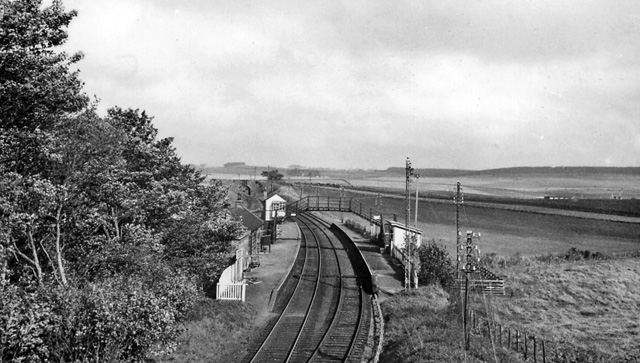
Brucklay railway station
Brucklay railway station was a former railway station in Brucklay, Aberdeenshire. == History == The station was opened on 24 April 1865 by the Formartine...

Abbey of Deer Platform railway station
Abbey of Deer Platform was a small railway station on the branch line from Maud to Peterhead in the Scottish county of Aberdeenshire. == History == The...
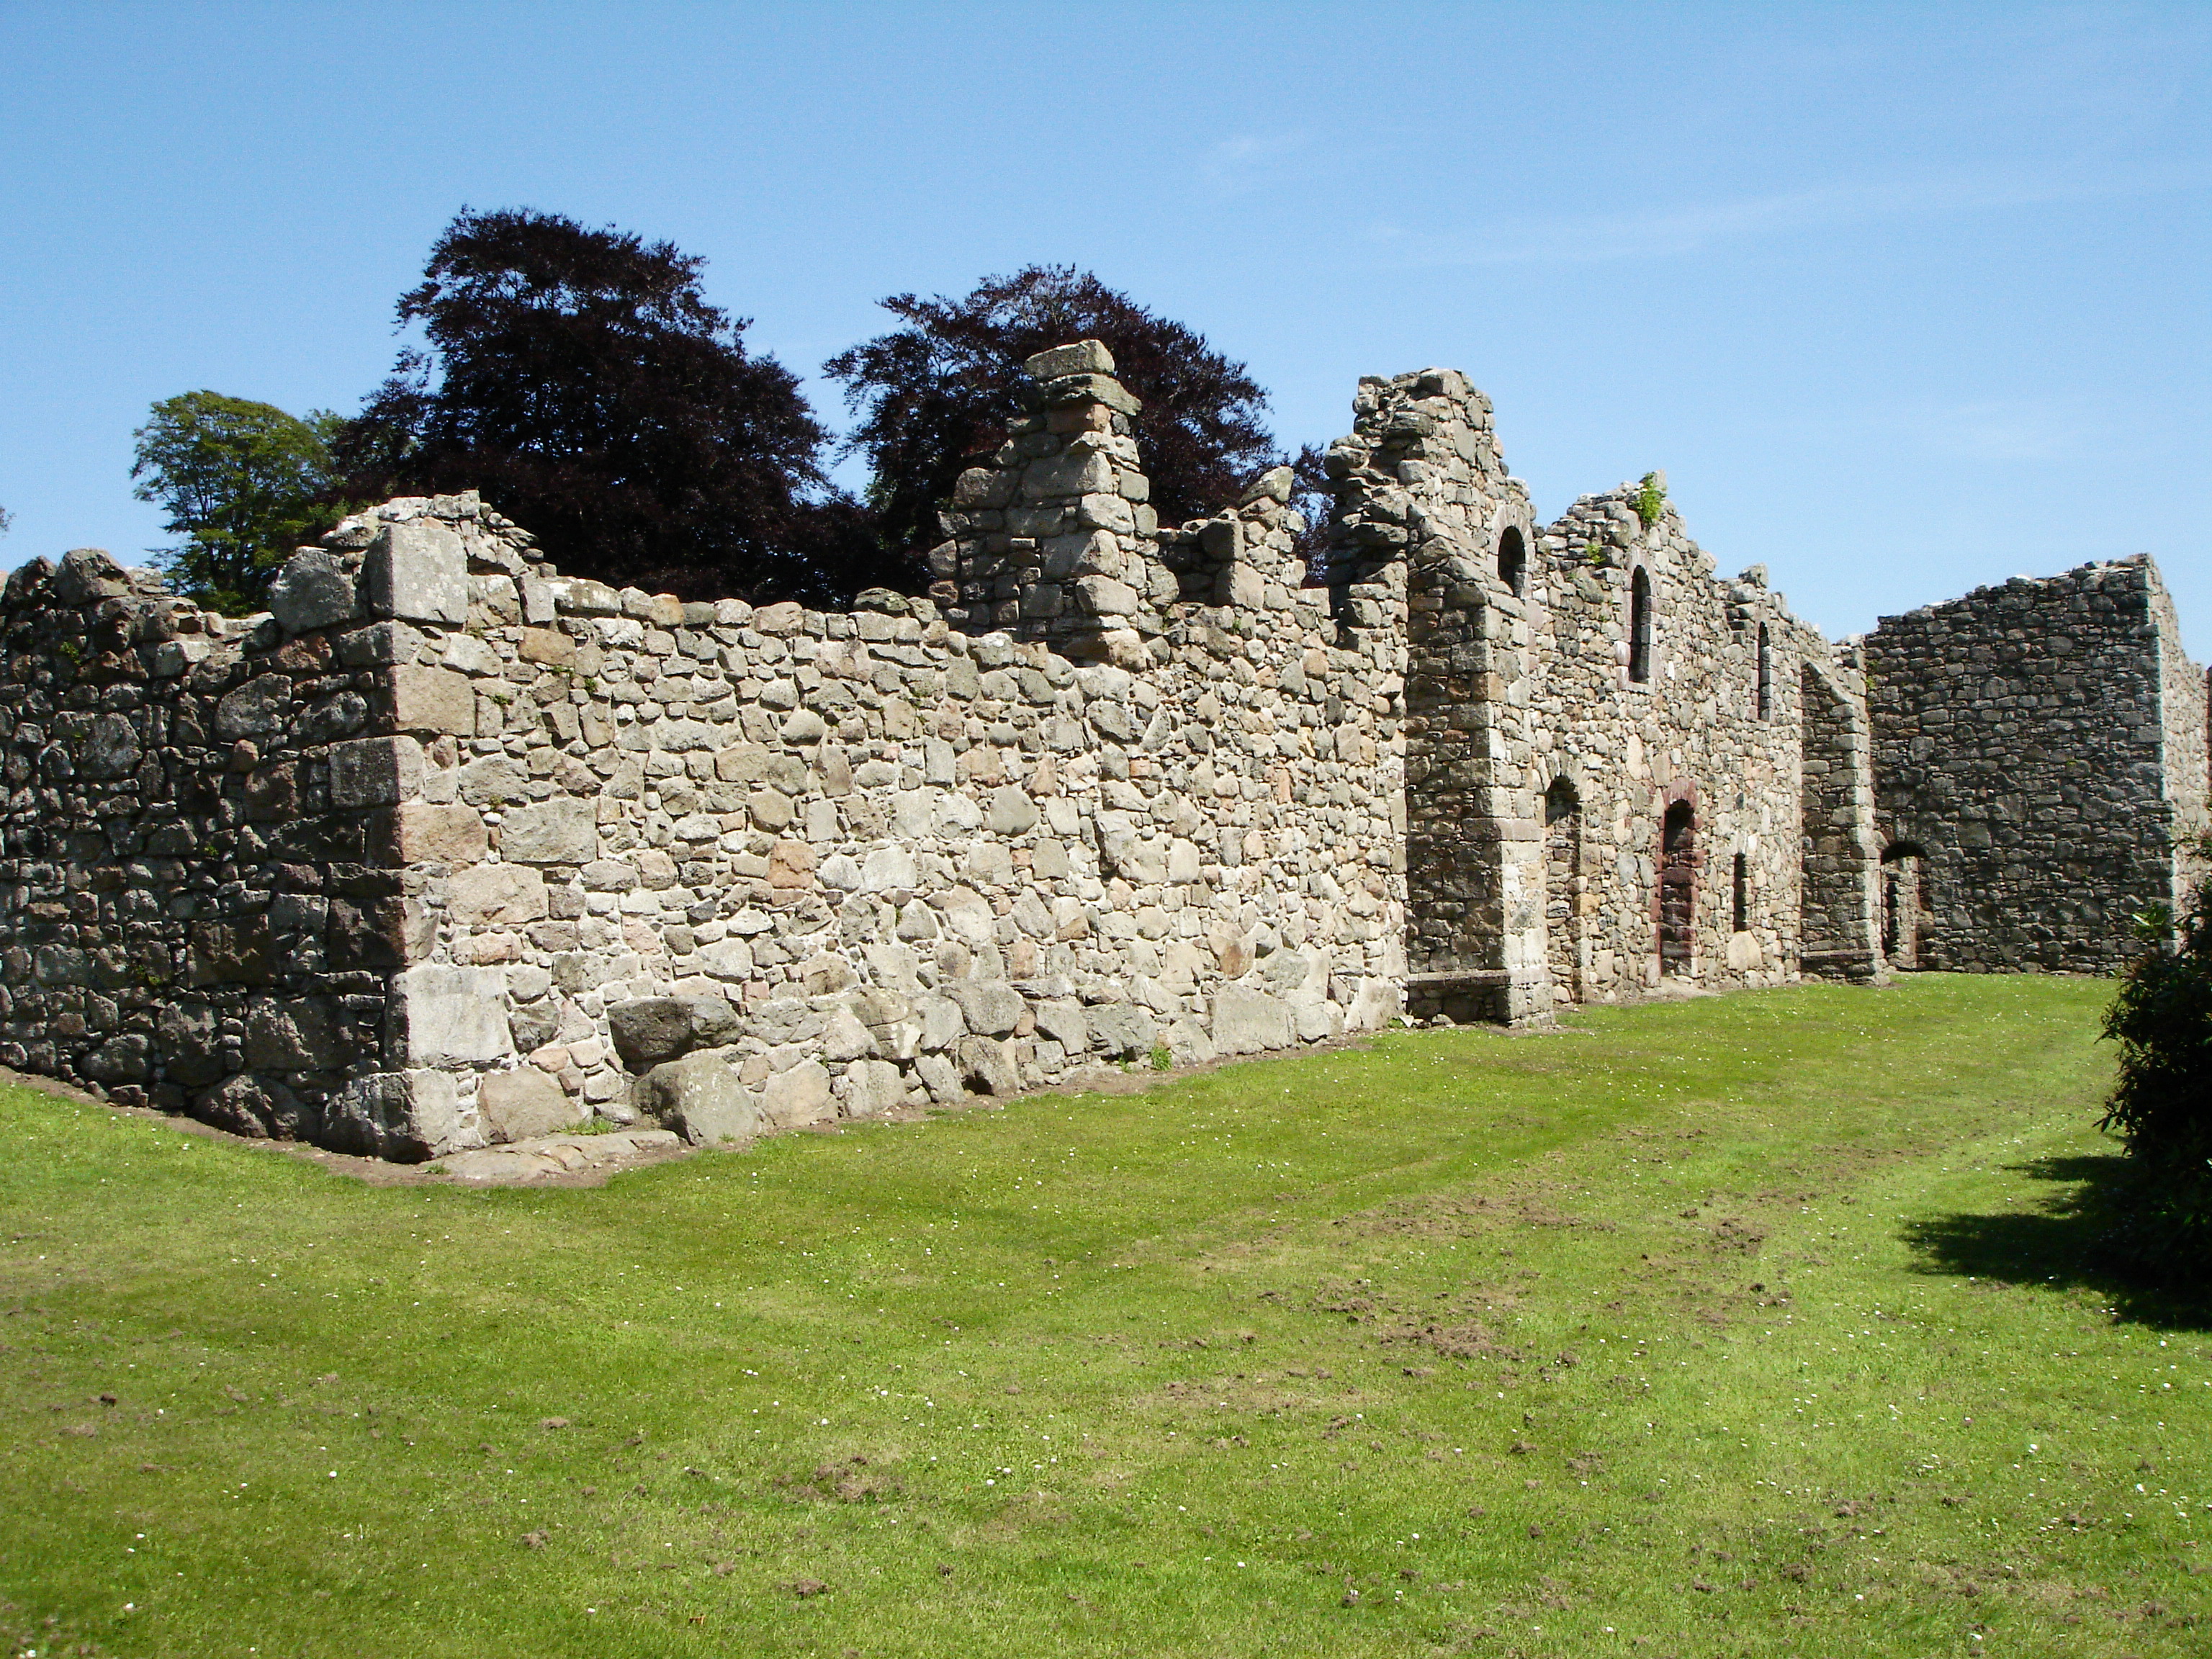
Deer Abbey
Deer Abbey was a Cistercian monastery in Buchan, Scotland. It was founded by 1219 under the patronage William Comyn, jure uxoris Earl of Buchan, who is...

Pitfour estate
The Pitfour Estate, in the Buchan area of North-East Scotland, was an ancient barony encompassing most of the extensive Longside Parish, stretching from...

Maud, Aberdeenshire
Maud (Scottish Gaelic: Am Mòd) is a village in the Buchan area of the Scottish county of Aberdeenshire, with a population of 780 (2006 estimate). Located...
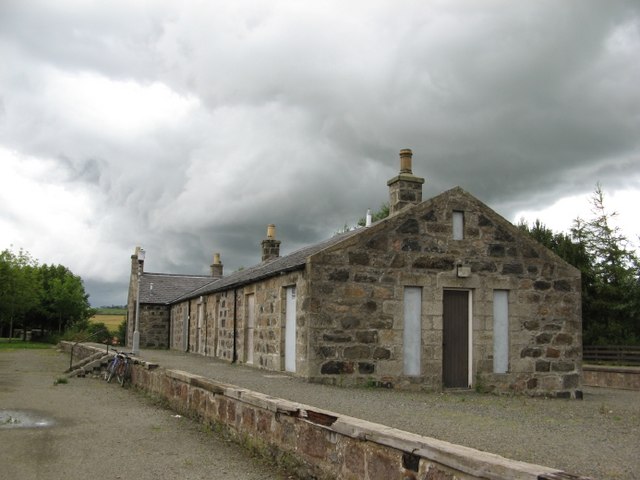
Maud Junction railway station
Maud Junction railway station was a railway station in Maud, Aberdeenshire, Scotland, now housing the Maud Railway Museum. It was a junction where the...
Clackriach Castle
Clackriach Castle was a 16th-century tower house, about 11 miles (18 km) north of Ellon, Aberdeenshire, Scotland, and 1 mile (1.6 km) south-east of Maud...

Maud Hospital
Maud Hospital was a small hospital providing psychogeriatric services in Maud, Aberdeenshire. It was managed by NHS Grampian. == History == The hospital...
Nearby Amenities
Located within 500m of 57.54049,-2.0833713Have you been to Auchmachar Clump?
Leave your review of Auchmachar Clump below (or comments, questions and feedback).