Grangetown
Settlement in Durham
England
Grangetown

Grangetown is a small village located in the county of Durham, in the northeast of England. Situated on the southern outskirts of Sunderland, Grangetown is nestled between the A1018 road and the River Wear. The village is part of the City of Sunderland metropolitan borough.
With a population of around 7,000 residents, Grangetown has a close-knit community feel. The village is mainly residential, with a mix of housing including terraced houses, semi-detached homes, and a few apartment buildings. Many of the properties in Grangetown were built during the post-war era to accommodate the growing workforce of the nearby shipyards and coal mines.
Grangetown offers a range of amenities to its residents, including several local shops, pubs, and a community center. The village is also home to a primary school, providing education for children in the area.
For outdoor enthusiasts, Grangetown offers easy access to the picturesque River Wear, where locals can enjoy walks along the riverbank or engage in various water activities. The village is also surrounded by green spaces, including Silksworth Park and Tunstall Hill, which provide opportunities for leisurely strolls and recreational activities.
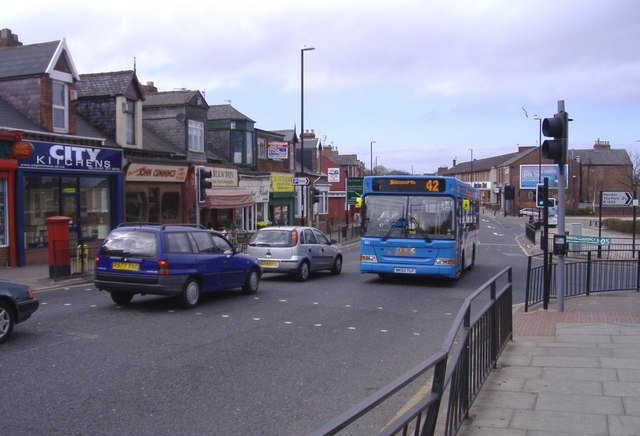
Transport links in Grangetown are well-established, with regular bus services connecting the village to nearby towns and Sunderland city center. The A1018 road offers convenient access to the wider region, making it a suitable location for commuters.
Overall, Grangetown is a pleasant residential village with a strong sense of community, offering a peaceful and convenient location for its residents.
If you have any feedback on the listing, please let us know in the comments section below.
Grangetown Images
Images are sourced within 2km of 54.882114/-1.371031 or Grid Reference NZ4054. Thanks to Geograph Open Source API. All images are credited.


Grangetown is located at Grid Ref: NZ4054 (Lat: 54.882114, Lng: -1.371031)
Unitary Authority: Sunderland
Police Authority: Northumbria
What 3 Words
///shares.meal.novel. Near Ryhope, Tyne & Wear
Nearby Locations
Related Wikis
Grangetown, Sunderland
Grangetown is a suburb to the south east of Sunderland, immediately south of Sunderland City Centre and a mile north of Ryhope. Grangetown is home to...

Southmoor Academy
Southmoor Academy (formerly Southmoor Community School) is a coeducational secondary school and sixth form located in the Grangetown area of Sunderland...

Sunderland South (UK Parliament constituency)
Sunderland South was, from 1950 until 2010, a constituency represented in the House of Commons of the Parliament of the United Kingdom. It elected one...
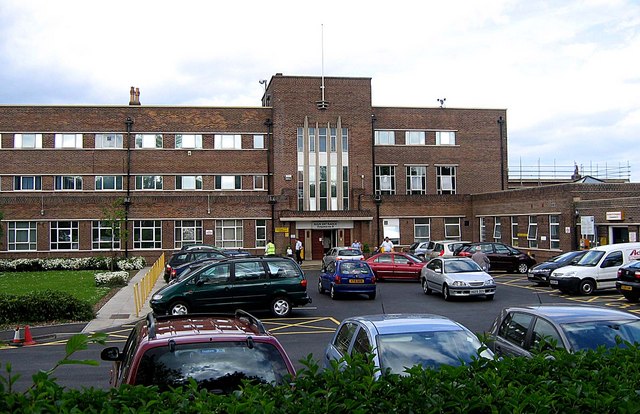
Sunderland Eye Infirmary
The Sunderland Eye Infirmary is a health facility in Sunderland, Tyne and Wear. It is managed by the South Tyneside and Sunderland NHS Foundation Trust...
Nearby Amenities
Located within 500m of 54.882114,-1.371031Have you been to Grangetown?
Leave your review of Grangetown below (or comments, questions and feedback).