Clashman Hillock

Hill, Mountain in Banffshire

Scotland

Clashman Hillock

Rothiemay Parish Kirk The kirk dates from 1807 and is a Category B Listed building. It incorporates some features from earlier buildings. See <span class="nowrap"><a title="http://portal.historicenvironment.scot/designation/LB15616" rel="nofollow ugc noopener" href="http://portal.historicenvironment.scot/designation/LB15616">Link</a><img style="margin-left:2px;" alt="External link" title="External link - shift click to open in new window" src="https://s1.geograph.org.uk/img/external.png" width="10" height="10"/></span> for more details.
Rothiemay Parish Kirk Credit: Anne Burgess

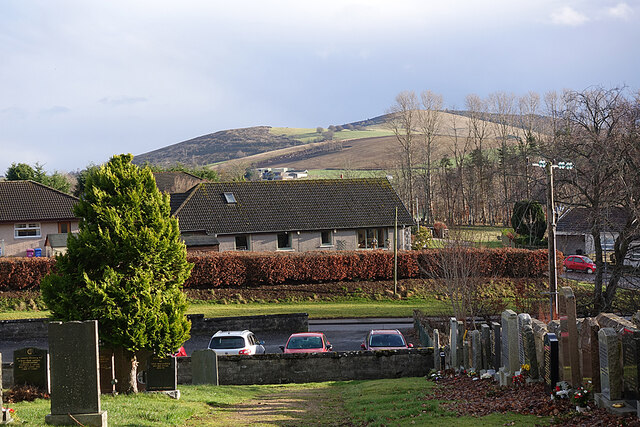
Clashman Hillock is a prominent hill located in Banffshire, Scotland. Rising to an elevation of approximately 410 meters (1,345 feet), it forms an impressive landmark in the region. Situated near the village of Clashman, the hill offers breathtaking panoramic views of the surrounding countryside.

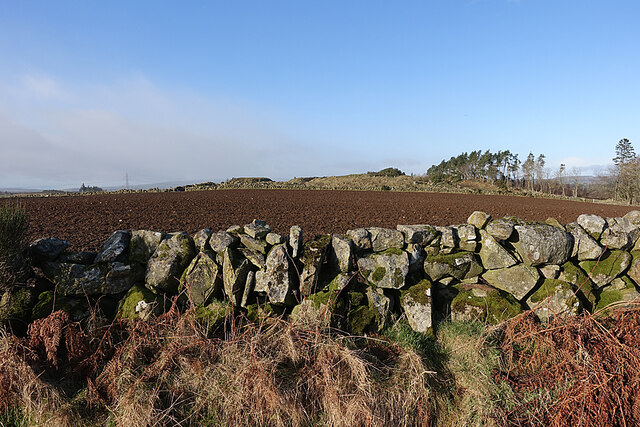
The hill itself is primarily composed of granite, which gives it a rugged and distinctive appearance. Its slopes are covered with heather, providing a vibrant purple hue during the flowering season, while patches of grass and scattered shrubs can also be found. The terrain is undulating, with some steep sections that add to the challenge of ascending the hill.

Hikers and outdoor enthusiasts are drawn to Clashman Hillock for its scenic beauty and the opportunity it presents for recreational activities. The hill boasts several well-maintained trails, varying in difficulty, that cater to different skill levels. These routes often wind through the picturesque countryside, offering glimpses of local wildlife and flora.

At the summit, visitors are rewarded with breathtaking views of the Banffshire coast, the North Sea, and the nearby Cairngorms National Park. On clear days, it is even possible to see as far as the Moray Firth and the Grampian Mountains.

Clashman Hillock is a popular destination for both locals and tourists, providing an ideal setting for outdoor pursuits, photography, and nature appreciation. Its accessibility, natural beauty, and panoramic vistas make it a must-visit location for those exploring the Banffshire region in Scotland.

If you have any feedback on the listing, please let us know in the comments section below.

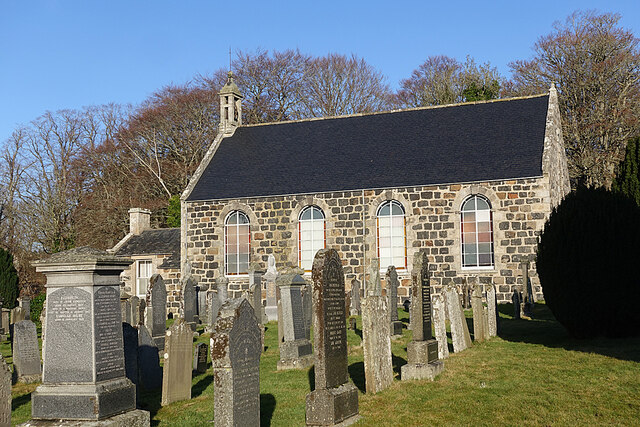
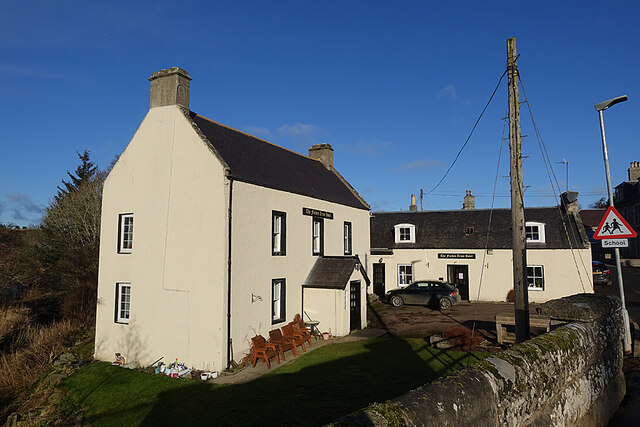
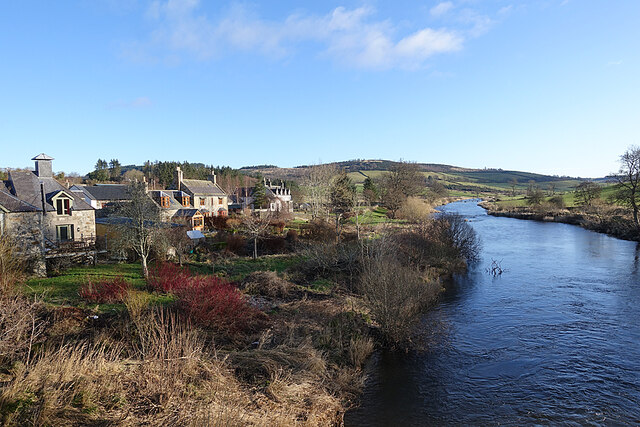
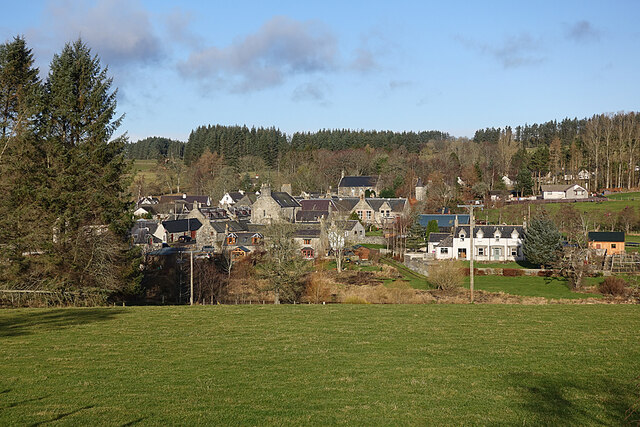
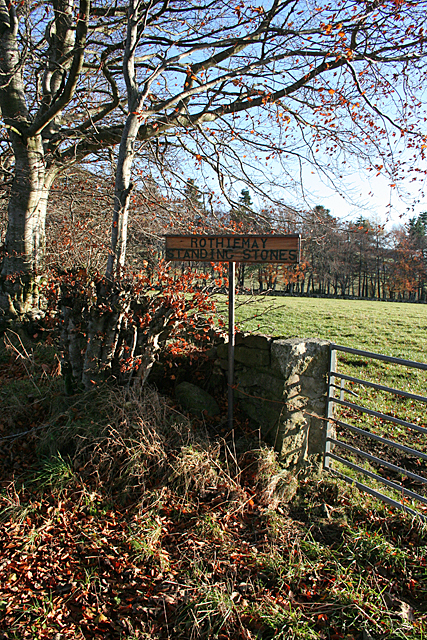
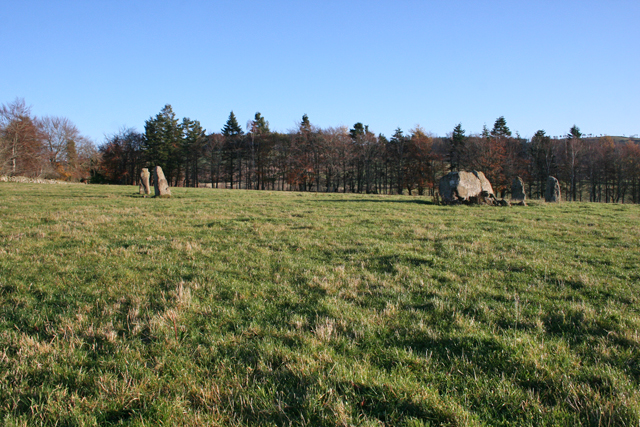
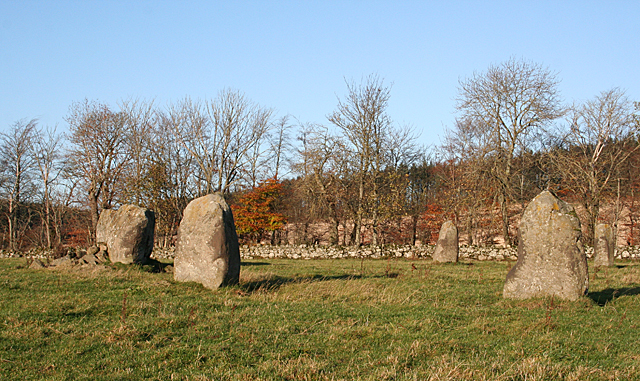
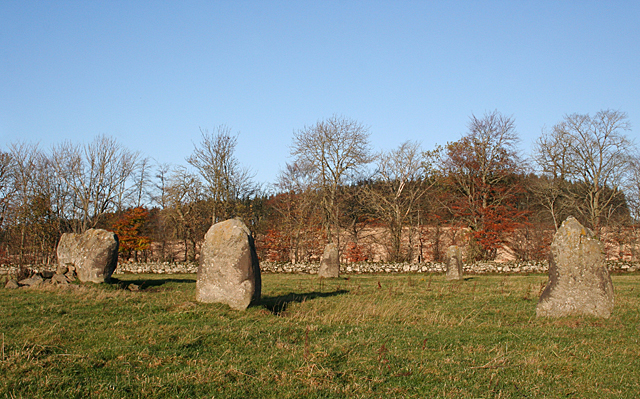
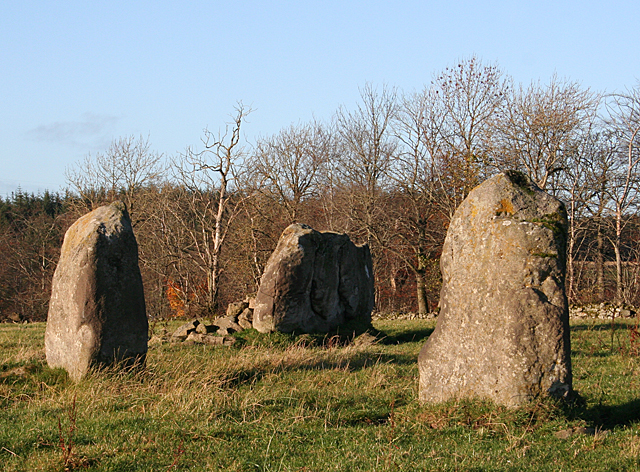
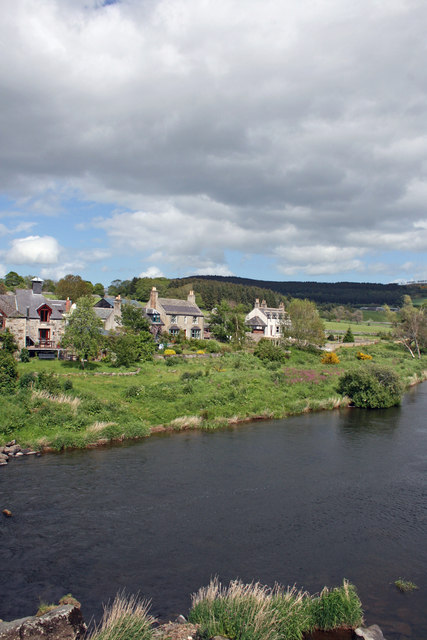
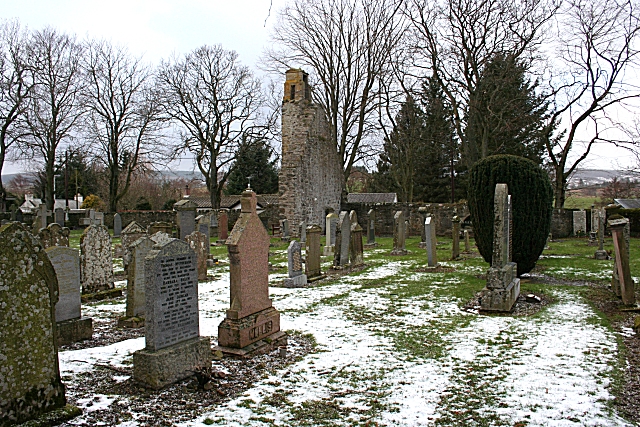
Clashman Hillock Images

Images are sourced within 2km of 57.521161/-2.7718914 or Grid Reference NJ5348. Thanks to Geograph Open Source API. All images are credited.

Rothiemay Parish Kirk The kirk dates from 1807 and is a Category B Listed building. It incorporates some features from earlier buildings. See <span class="nowrap"><a title="http://portal.historicenvironment.scot/designation/LB15616" rel="nofollow ugc noopener" href="http://portal.historicenvironment.scot/designation/LB15616">Link</a><img style="margin-left:2px;" alt="External link" title="External link - shift click to open in new window" src="https://s1.geograph.org.uk/img/external.png" width="10" height="10"/></span> for more details.
Rothiemay Parish Kirk
The kirk dates from 1807 and is a Category B Listed building. It incorporates some features from earlier buildings. See LinkExternal link for more details.
Rothiemay War Memorial A plain granite monument, standing beside the main street.
Rothiemay War Memorial
A plain granite monument, standing beside the main street.
Forbes Arms Hotel The two-storey house is 18th century and the one-and-s-half storey extension is later. It is a Category B Listed building. See <span class="nowrap"><a title="http://portal.historicenvironment.scot/designation/LB15614" rel="nofollow ugc noopener" href="http://portal.historicenvironment.scot/designation/LB15614">Link</a><img style="margin-left:2px;" alt="External link" title="External link - shift click to open in new window" src="https://s1.geograph.org.uk/img/external.png" width="10" height="10"/></span> for details.
Forbes Arms Hotel
The two-storey house is 18th century and the one-and-s-half storey extension is later. It is a Category B Listed building. See LinkExternal link for details.
River Deveron Looking downstream from the bridge at Milltown.
River Deveron
Looking downstream from the bridge at Milltown.
Milltown of Rothiemay Although officially called Milltown of Rothiemay, most local people refer to it simply as Rothiemay. The River Deveron is in the dip between the foreground field and the village.
Milltown of Rothiemay
Although officially called Milltown of Rothiemay, most local people refer to it simply as Rothiemay. The River Deveron is in the dip between the foreground field and the village.
Drystane Dyke A rather haphazard-looking dyke on the side of the road to Redhill.
Drystane Dyke
A rather haphazard-looking dyke on the side of the road to Redhill.
Interesting Gateposts We were lured through the gateway by a window display of fascinating old objects, like a little heritage museum. The white van is a travelling butcher's shop, and the lady walking up the street has just been buying from it. Now that there is no shop at all in the village, the van must be very welcome.
Interesting Gateposts
We were lured through the gateway by a window display of fascinating old objects, like a little heritage museum. The white van is a travelling butcher's shop, and the lady walking up the street has just been buying from it. Now that there is no shop at all in the village, the van must be very welcome.
Milltown of Rothiemay Having left our car beside a sign saying that the parking area (the only one in the village) is for visitors to the cemetery, we felt obliged to visit the cemetery when we returned from our walk. This was far from being a hardship, because as well as some interesting gravestones there is a bench which offered us this view while we relaxed in the sunshine with the second instalment of our picnic. (The three cars in view were all there when we first arrived, and still there when we left to go home, but we saw no-one else visiting the cemetery.) On the skyline is Fourman Hill, and our seven-mile walk had taken us over the shoulder of the hill past the scattered trees.
Milltown of Rothiemay
Having left our car beside a sign saying that the parking area (the only one in the village) is for visitors to the cemetery, we felt obliged to visit the cemetery when we returned from our walk. This was far from being a hardship, because as well as some interesting gravestones there is a bench which offered us this view while we relaxed in the sunshine with the second instalment of our picnic. (The three cars in view were all there when we first arrived, and still there when we left to go home, but we saw no-one else visiting the cemetery.) On the skyline is Fourman Hill, and our seven-mile walk had taken us over the shoulder of the hill past the scattered trees.
OS Cut Mark - Rothiemay, Bridge over the Deveron Bridge Parapet Buttress NW SIDE RD
OS Cut Mark - Rothiemay, Bridge over the Deveron
Bridge Parapet Buttress NW SIDE RD
Rothiemay Recumbent Stone Circle (1) It's easy to miss this modest sign at the gate to the field containing the standing stones. <a href="https://www.geograph.org.uk/photo/4742957">NJ5548 : Rothiemay Recumbent Stone Circle (2)</a>
Rothiemay Recumbent Stone Circle (1)
It's easy to miss this modest sign at the gate to the field containing the standing stones. NJ5548 : Rothiemay Recumbent Stone Circle (2)
Rothiemay Recumbent Stone Circle (2) Until some time in the 1840s this circle was complete, but a farm bailiff had some removed in the 1840s, and only the intervention of the landowner prevented further destruction. Now, only five stones survive. See <span class="nowrap"><a title="https://canmore.org.uk/site/17820/rothiemay" rel="nofollow ugc noopener" href="https://canmore.org.uk/site/17820/rothiemay">Link</a><img style="margin-left:2px;" alt="External link" title="External link - shift click to open in new window" src="https://s1.geograph.org.uk/img/external.png" width="10" height="10"/></span> for more information. <a href="https://www.geograph.org.uk/photo/4742964">NJ5548 : Rothiemay Recumbent Stone Circle (3)</a>
Rothiemay Recumbent Stone Circle (2)
Until some time in the 1840s this circle was complete, but a farm bailiff had some removed in the 1840s, and only the intervention of the landowner prevented further destruction. Now, only five stones survive. See LinkExternal link for more information. NJ5548 : Rothiemay Recumbent Stone Circle (3)
Rothiemay Recumbent Stone Circle (3) This is the view from the south-east. Nearest the camera are the two stones on the south-eastern arc of the circle. To the left is the recumbent, and in the background are the two stones on the north-western arc.  See <span class="nowrap"><a title="https://canmore.org.uk/site/17820/rothiemay" rel="nofollow ugc noopener" href="https://canmore.org.uk/site/17820/rothiemay">Link</a><img style="margin-left:2px;" alt="External link" title="External link - shift click to open in new window" src="https://s1.geograph.org.uk/img/external.png" width="10" height="10"/></span> for more information. <a href="https://www.geograph.org.uk/photo/4742971">NJ5548 : Rothiemay Recumbent Stone Circle (4)</a>
Rothiemay Recumbent Stone Circle (3)
This is the view from the south-east. Nearest the camera are the two stones on the south-eastern arc of the circle. To the left is the recumbent, and in the background are the two stones on the north-western arc. See LinkExternal link for more information. NJ5548 : Rothiemay Recumbent Stone Circle (4)
Rothiemay Recumbent Stone Circle (4) From the south-east, the two stones in the north-west are framed in the space between the two on the south-east. The recumbent is to the left. See <span class="nowrap"><a title="https://canmore.org.uk/site/17820/rothiemay" rel="nofollow ugc noopener" href="https://canmore.org.uk/site/17820/rothiemay">Link</a><img style="margin-left:2px;" alt="External link" title="External link - shift click to open in new window" src="https://s1.geograph.org.uk/img/external.png" width="10" height="10"/></span> for more information. <a href="https://www.geograph.org.uk/photo/4742978">NJ5548 : Rothiemay Recumbent Stone Circle (5)</a>
Rothiemay Recumbent Stone Circle (4)
From the south-east, the two stones in the north-west are framed in the space between the two on the south-east. The recumbent is to the left. See LinkExternal link for more information. NJ5548 : Rothiemay Recumbent Stone Circle (5)
Rothiemay Recumbent Stone Circle (5) In this view the recumbent is framed in the space between the two standing stones on the south-east arc of the circle.  See <span class="nowrap"><a title="https://canmore.org.uk/site/17820/rothiemay" rel="nofollow ugc noopener" href="https://canmore.org.uk/site/17820/rothiemay">Link</a><img style="margin-left:2px;" alt="External link" title="External link - shift click to open in new window" src="https://s1.geograph.org.uk/img/external.png" width="10" height="10"/></span> for more information. <a href="https://www.geograph.org.uk/photo/4742980">NJ5548 : Rothiemay Recumbent Stone Circle (6)</a>
Rothiemay Recumbent Stone Circle (5)
In this view the recumbent is framed in the space between the two standing stones on the south-east arc of the circle. See LinkExternal link for more information. NJ5548 : Rothiemay Recumbent Stone Circle (6)
Rothiemay Recumbent Stone Circle (6) These are the two stones on the south-east arc of the circle.  See <span class="nowrap"><a title="https://canmore.org.uk/site/17820/rothiemay" rel="nofollow ugc noopener" href="https://canmore.org.uk/site/17820/rothiemay">Link</a><img style="margin-left:2px;" alt="External link" title="External link - shift click to open in new window" src="https://s1.geograph.org.uk/img/external.png" width="10" height="10"/></span> for more information. <a href="https://www.geograph.org.uk/photo/4742988">NJ5548 : Rothiemay Recumbent Stone Circle (7)</a>
Rothiemay Recumbent Stone Circle (6)
These are the two stones on the south-east arc of the circle. See LinkExternal link for more information. NJ5548 : Rothiemay Recumbent Stone Circle (7)
Rothiemay Recumbent Stone Circle (7) This is the stone further away from the recumbent on the south-east. If you look carefully at the edge facing the camera, where the stone is darkest, you should be able to make out some cup marks.  See <span class="nowrap"><a title="https://canmore.org.uk/site/17820/rothiemay" rel="nofollow ugc noopener" href="https://canmore.org.uk/site/17820/rothiemay">Link</a><img style="margin-left:2px;" alt="External link" title="External link - shift click to open in new window" src="https://s1.geograph.org.uk/img/external.png" width="10" height="10"/></span> for more information. <a href="https://www.geograph.org.uk/photo/4742994">NJ5548 : Rothiemay Recumbent Stone Circle (8)</a>
Rothiemay Recumbent Stone Circle (7)
This is the stone further away from the recumbent on the south-east. If you look carefully at the edge facing the camera, where the stone is darkest, you should be able to make out some cup marks. See LinkExternal link for more information. NJ5548 : Rothiemay Recumbent Stone Circle (8)
Rothiemay Recumbent Stone Circle (8) This is the stone next to the recumbent on the south-east arc.  See <span class="nowrap"><a title="https://canmore.org.uk/site/17820/rothiemay" rel="nofollow ugc noopener" href="https://canmore.org.uk/site/17820/rothiemay">Link</a><img style="margin-left:2px;" alt="External link" title="External link - shift click to open in new window" src="https://s1.geograph.org.uk/img/external.png" width="10" height="10"/></span> for more information. <a href="https://www.geograph.org.uk/photo/4743003">NJ5548 : Rothiemay Recumbent Stone Circle (9)</a>
Rothiemay Recumbent Stone Circle (8)
This is the stone next to the recumbent on the south-east arc. See LinkExternal link for more information. NJ5548 : Rothiemay Recumbent Stone Circle (9)
Rothiemay Recumbent Stone Circle (9) In the foreground is the recumbent, with the two stones of the south-east arc to the right.  See <span class="nowrap"><a title="https://canmore.org.uk/site/17820/rothiemay" rel="nofollow ugc noopener" href="https://canmore.org.uk/site/17820/rothiemay">Link</a><img style="margin-left:2px;" alt="External link" title="External link - shift click to open in new window" src="https://s1.geograph.org.uk/img/external.png" width="10" height="10"/></span> for more information. <a href="https://www.geograph.org.uk/photo/4743006">NJ5548 : Rothiemay Recumbent Stone Circle (10)</a>
Rothiemay Recumbent Stone Circle (9)
In the foreground is the recumbent, with the two stones of the south-east arc to the right. See LinkExternal link for more information. NJ5548 : Rothiemay Recumbent Stone Circle (10)
Show me another place!

Clashman Hillock is located at Grid Ref: NJ5348 (Lat: 57.521161, Lng: -2.7718914)

Unitary Authority: Moray

Police Authority: North East

What 3 Words

///depths.sketching.state. Near Huntly, Aberdeenshire

Nearby Locations

Clashman Hillock

Related Wikis

River Isla, Moray

The River Isla (Scottish Gaelic: Uisge Ìle) is a tributary of the River Deveron in North-East Scotland. The area surrounding it is known as Strathisla...

Milltown of Rothiemay

Milltown of Rothiemay (Scottish Gaelic: Ràth a' Mhuigh) is a small inland village, built mostly of granite, in the north-east of Scotland and is within...

Avochie Castle

Avochie Castle is a ruined tower house, dating from the 16th century, or early 17th century, around 4.5 miles (7.2 km) north of Huntly, east of the river...

Rothiemay railway station

Rothiemay railway station served the village of Milltown of Rothiemay, Aberdeenshire, Scotland from 1856 to 1968 on the Great North of Scotland Railway...

Ruthven, Aberdeenshire

Ruthven (, Gaelic: Ruadhainn), Aberdeenshire is a village in Scotland near Huntly (to the south east), and Keith (to the north west). It is traditionally...

Mountains Burn

Mountains Burn is a burn which marks the boundary of the parish of Huntly, Aberdeenshire, Scotland. == References ==

Daugh Castle

Daugh Castle was a castle, about 5 miles (8.0 km) north of Huntly, Aberdeenshire, Scotland, near Cairnie Burn. It was also known as Castle of the Daach...

Millegin railway station

Millegin railway station, Millagan railway station or later Millegin Siding was briefly an intermediate stop situated on what became the Great North of...

Nearby Amenities

Located within 500m of 57.521161,-2.7718914
Design: barrel
Power: tower
Lat/Long: 57.5201638/-2.7647224
Design: barrel
Power: tower
Lat/Long: 57.5230406/-2.767693
Power: pole
Lat/Long: 57.5213778/-2.7727639
Power: pole
Lat/Long: 57.5217107/-2.7723151
Power: pole
Lat/Long: 57.5222006/-2.7720996
Power: pole
Lat/Long: 57.5227744/-2.7718384
Power: pole
Lat/Long: 57.5210528/-2.7731433
Power: pole
Lat/Long: 57.5203901/-2.7745987
Power: pole
Lat/Long: 57.5198828/-2.7755686
Power: pole
Lat/Long: 57.5198772/-2.776472
Power: pole
Lat/Long: 57.5198717/-2.7773444
Power: pole
Lat/Long: 57.5198701/-2.7782005
Power: pole
Lat/Long: 57.5198709/-2.7790848
Hencar
Place: isolated_dwelling
Lat/Long: 57.5171713/-2.7691444
The data included in this document is from www.openstreetmap.org. The data is made available under ODbL.

Have you been to Clashman Hillock?

Leave your review of Clashman Hillock below (or comments, questions and feedback).