Brae of Bognie
Downs, Moorland in Aberdeenshire
Scotland
Brae of Bognie
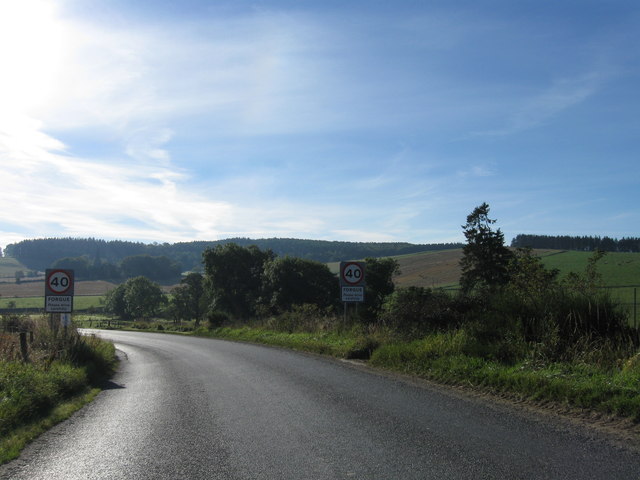
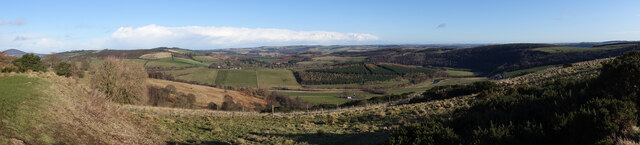
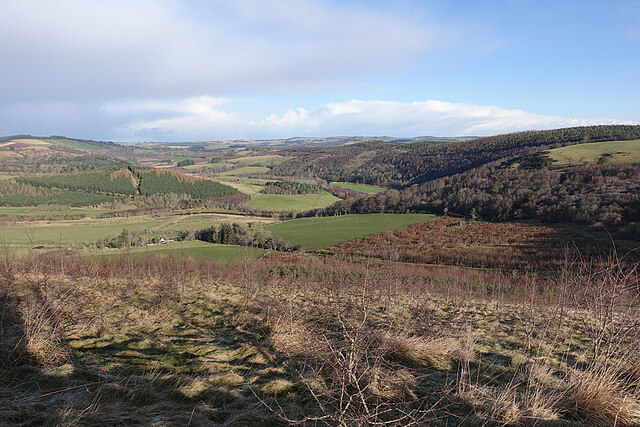
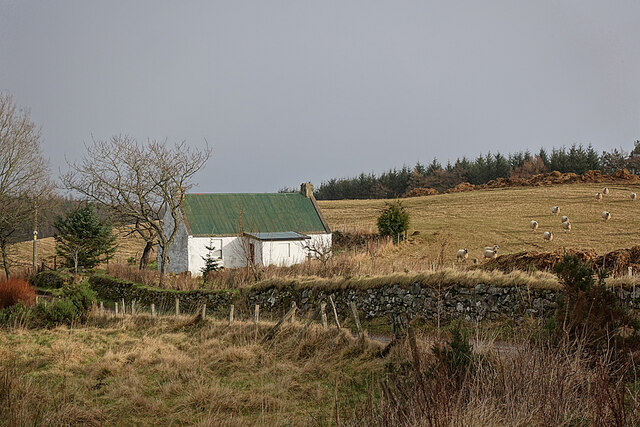
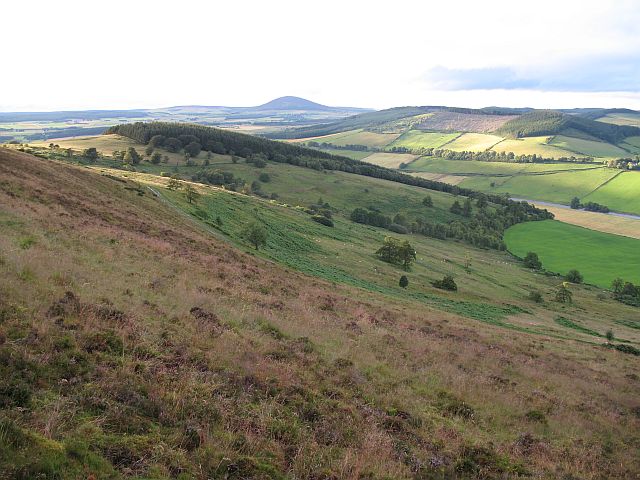
Brae of Bognie is a picturesque area located in Aberdeenshire, Scotland. Situated on the eastern edge of the Grampian Mountains, it is characterized by its stunning downs and moorland landscapes.
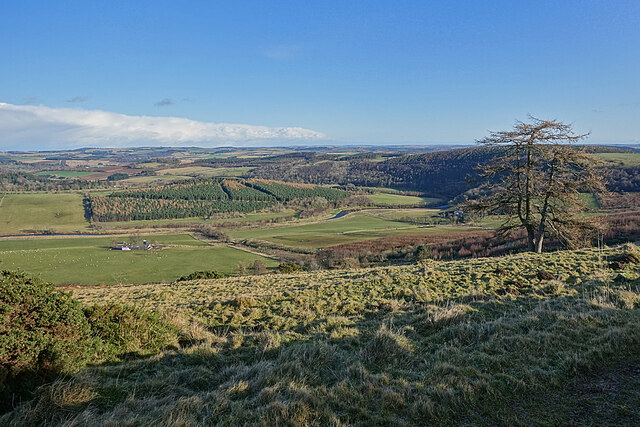
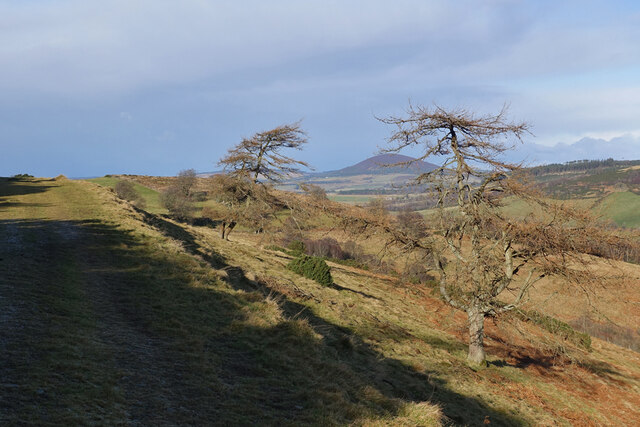
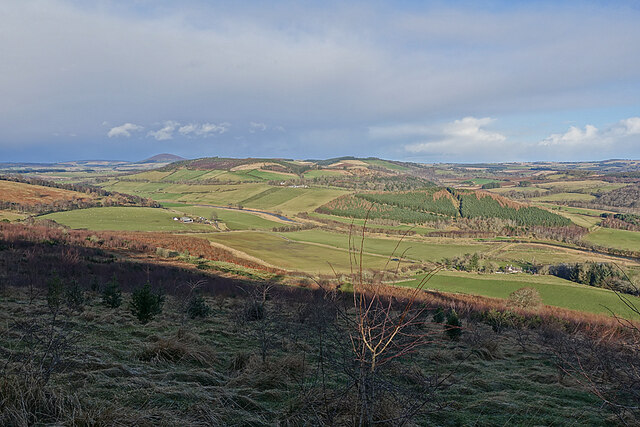
The downs of Brae of Bognie offer wide expanses of open grasslands, gently rolling hills, and panoramic views of the surrounding countryside. The grasslands are home to a variety of plant species, including heather, gorse, and wildflowers, providing a vibrant burst of color during the summer months. These downs also support a diverse range of bird species, including curlews, lapwings, and skylarks, making it a haven for birdwatching enthusiasts.
The moorland of Brae of Bognie showcases the unique flora and fauna of the Scottish uplands. It consists of vast stretches of heather-covered hills, interspersed with peat bogs and small lochs. The moorland is home to various species, such as red grouse, golden plovers, and mountain hares, which have adapted to the harsh conditions of this environment.
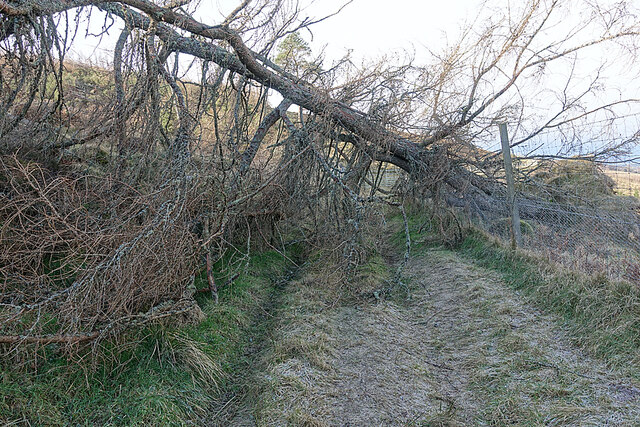
Brae of Bognie is a popular destination for nature lovers and outdoor enthusiasts. It offers numerous opportunities for hiking, walking, and wildlife spotting. The area is crisscrossed by a network of trails, allowing visitors to explore its diverse landscapes and discover its hidden gems. The tranquility and untouched beauty of Brae of Bognie make it an ideal place for those seeking an escape from the hustle and bustle of city life.
Overall, Brae of Bognie is a captivating region in Aberdeenshire that showcases the natural beauty of Scotland's downs and moorland. Its unspoiled landscapes and rich biodiversity make it a must-visit location for anyone with an appreciation for the great outdoors.
If you have any feedback on the listing, please let us know in the comments section below.
Brae of Bognie Images
Images are sourced within 2km of 57.499274/-2.687367 or Grid Reference NJ5845. Thanks to Geograph Open Source API. All images are credited.


Brae of Bognie is located at Grid Ref: NJ5845 (Lat: 57.499274, Lng: -2.687367)
Unitary Authority: Aberdeenshire
Police Authority: North East
What 3 Words
///invent.inert.goggles. Near Aberchirder, Aberdeenshire
Nearby Locations
Related Wikis

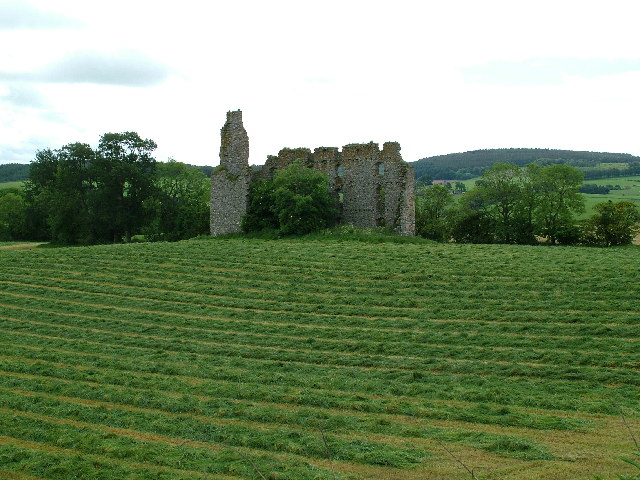
Bognie Castle
Bognie Castle (also called Conzie Castle) is a ruined castle near Huntly and Banff in the Aberdeenshire region of Scotland. It was built in the 17th century...
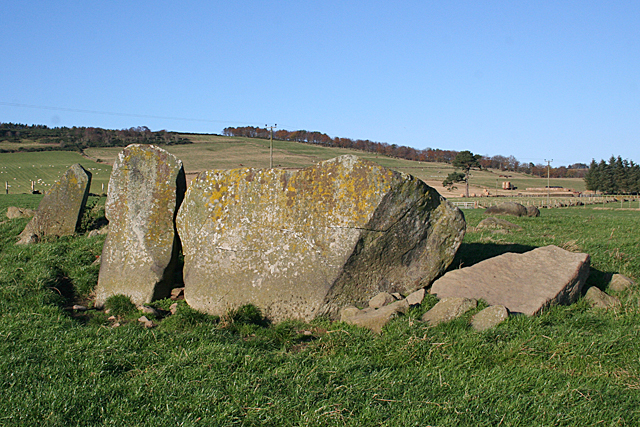
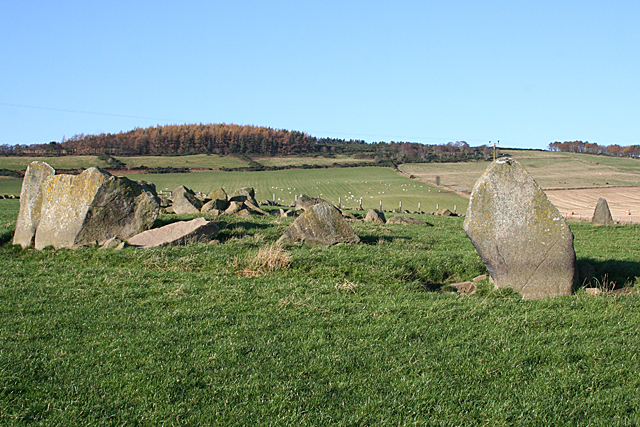
Yonder Bognie
Yonder Bognie is a stone circle in Aberdeenshire, Scotland. It is located in an agricultural field under private ownership and is a scheduled monument...
Bogniebrae
Bogniebrae () is a small rural settlement in Aberdeenshire, Scotland. It is located at the junction of the A97 and B9001 roads, six miles (ten kilometres...
Fourman Hill
Fourman Hill is a hill located west of Bogniebrae, Aberdeenshire, Scotland. It has an elevation of 1,127 feet (344 m). A cairn near the summit marked...
Nearby Amenities
Located within 500m of 57.499274,-2.687367Have you been to Brae of Bognie?
Leave your review of Brae of Bognie below (or comments, questions and feedback).