Haremoss Loch

Lake, Pool, Pond, Freshwater Marsh in Aberdeenshire

Scotland

Haremoss Loch

Long road to Charlesfield crossing The blown-up photo shows traffic calming measures at the junction.
Long road to Charlesfield crossing Credit: Bill Harrison

Haremoss Loch is a picturesque freshwater loch located in Aberdeenshire, Scotland. Nestled amidst the rolling hills and lush countryside, this tranquil body of water covers an area of approximately 10 acres, making it a popular destination for nature enthusiasts and anglers alike.

Surrounded by a diverse range of flora and fauna, Haremoss Loch boasts a rich biodiversity that attracts a wide variety of bird species throughout the year. Visitors can expect to spot an array of waterfowl, including swans, ducks, and geese, as well as smaller birds such as herons and kingfishers.

The loch itself is relatively shallow, with an average depth of around 3 meters. Its crystal-clear waters are fed by natural springs and streams, ensuring a constant flow of fresh water. This makes Haremoss Loch an ideal habitat for various species of fish, including brown trout, pike, and perch. Anglers can often be seen casting their lines, hoping for a successful catch.

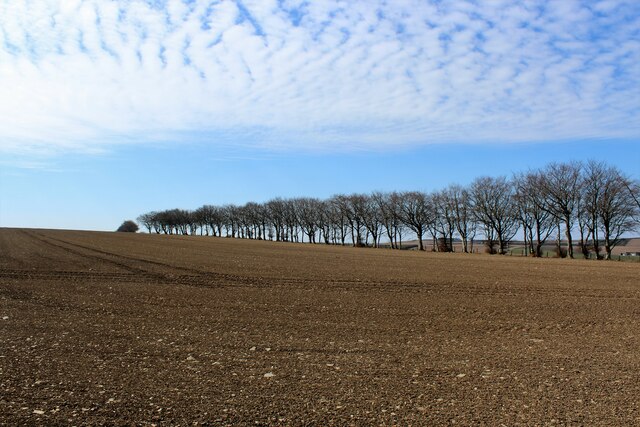
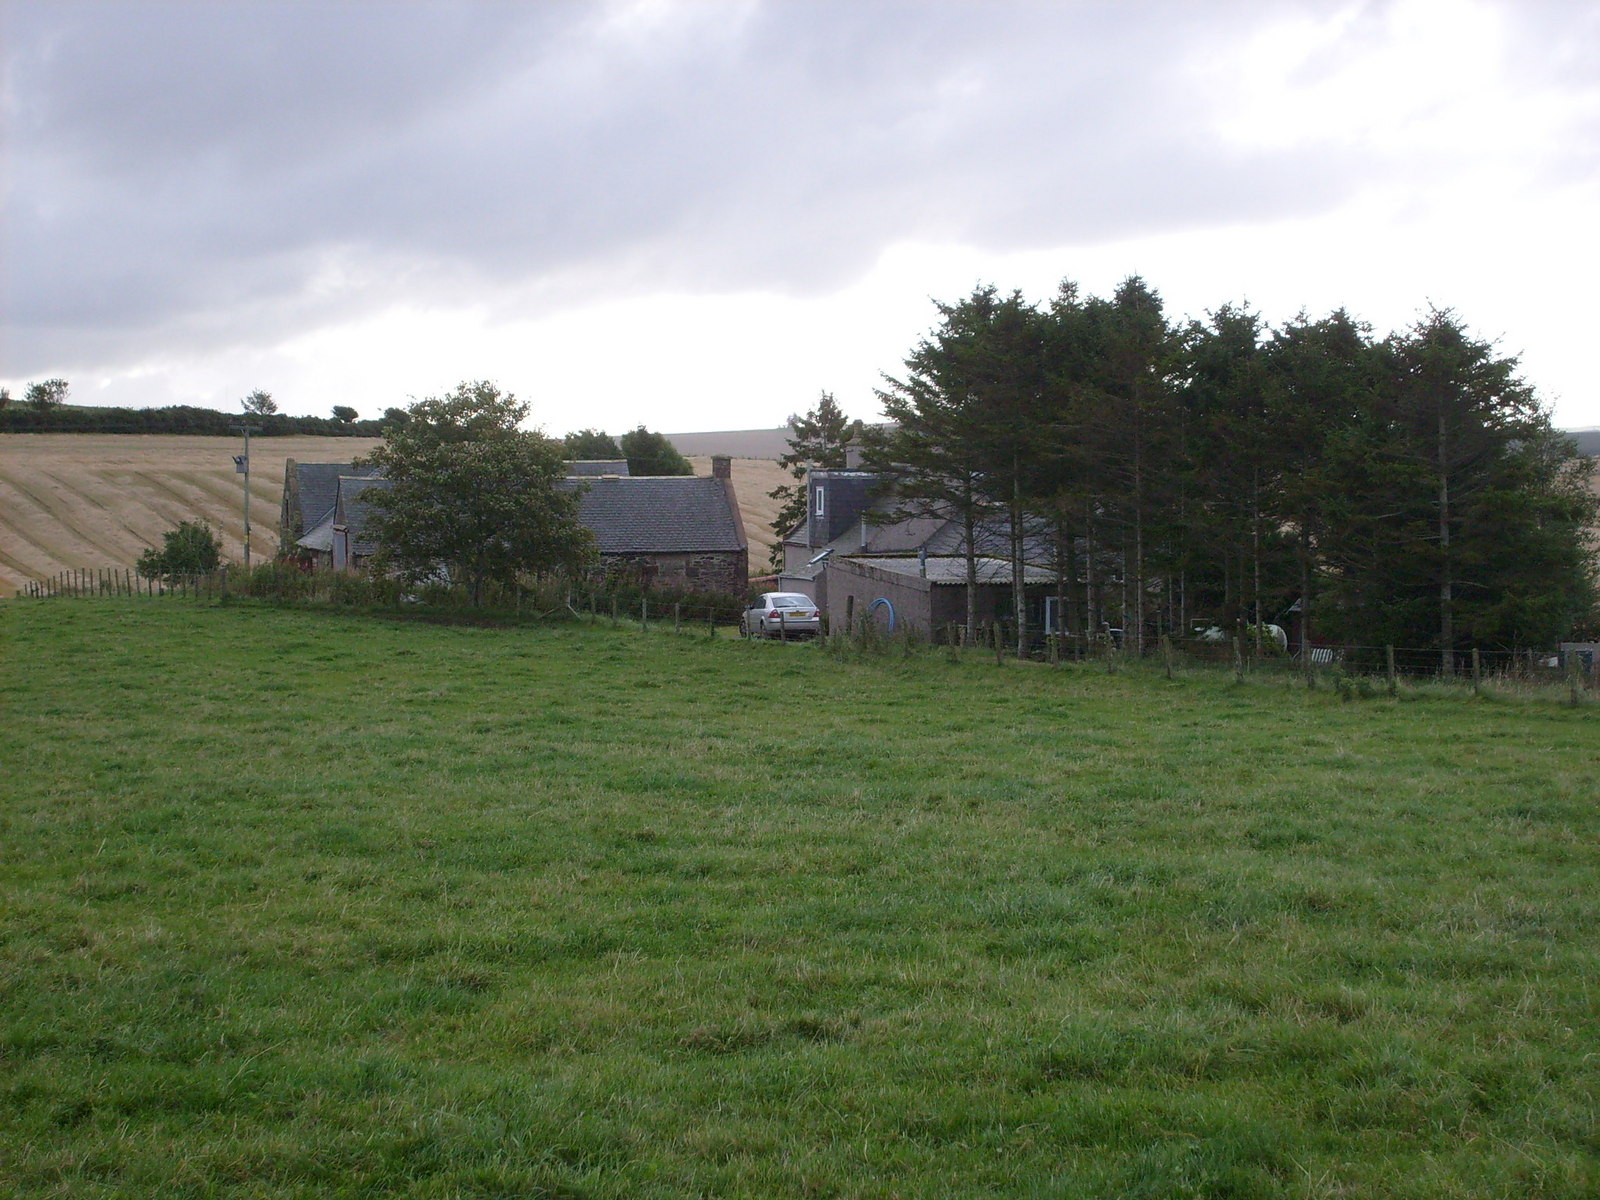
The surrounding landscape of Haremoss Loch is a mix of grassy banks, reed beds, and wetlands, creating a beautiful natural environment. The loch is also bordered by a small woodland area, providing a peaceful setting for leisurely walks and picnics.

Overall, Haremoss Loch offers a serene escape from the bustle of everyday life, allowing visitors to immerse themselves in the beauty of nature and enjoy the tranquility of this idyllic Scottish loch.

If you have any feedback on the listing, please let us know in the comments section below.

Haremoss Loch Images

Images are sourced within 2km of 57.490308/-2.5206516 or Grid Reference NJ6844. Thanks to Geograph Open Source API. All images are credited.

Long road to Charlesfield crossing The blown-up photo shows traffic calming measures at the junction.
Long road to Charlesfield crossing
The blown-up photo shows traffic calming measures at the junction.
Access road to Shielburn and Newton of Fortrie
Hill of Carlincraig Sheep and turbines on the Hill of Carlincraig.
Hill of Carlincraig
Sheep and turbines on the Hill of Carlincraig.
Burn of Tollo The Burn of Tollo flowing north westerly by the Hill of Carlincraig.
Burn of Tollo
The Burn of Tollo flowing north westerly by the Hill of Carlincraig.
Carlincraig Farm A view of Carlincrag Farm from the west along the Tollo Burn and associated wetland.
Carlincraig Farm
A view of Carlincrag Farm from the west along the Tollo Burn and associated wetland.
Road to Carlincraig The road north-west, and downhill, to Carlincraig from Gallows Hill.
Road to Carlincraig
The road north-west, and downhill, to Carlincraig from Gallows Hill.
Tree Line To Gallows Hill Tree lined and cultivated fields by Gallows Hill.
Tree Line To Gallows Hill
Tree lined and cultivated fields by Gallows Hill.
Disused Quarry This former quarry is slowly filling up with farm rubbish.
Disused Quarry
This former quarry is slowly filling up with farm rubbish.
Field by Hatton A cultivated field near Backhill of Hatton Farm.
Field by Hatton
A cultivated field near Backhill of Hatton Farm.
Corrydown Recumbent Stone Circle (1) This circle has been disturbed, and only the recumbent, the furthest right in this view, remains in its original position. See <span class="nowrap"><a title="http://canmore.rcahms.gov.uk/en/site/19197/details/corrydown/" rel="nofollow ugc noopener" href="http://canmore.rcahms.gov.uk/en/site/19197/details/corrydown/">Link</a><img style="margin-left:2px;" alt="External link" title="External link - shift click to open in new window" src="https://s1.geograph.org.uk/img/external.png" width="10" height="10"/></span> for a fuller description. <a href="https://www.geograph.org.uk/photo/4423393">NJ7044 : Corrydown Recumbent Stone Circle (2)</a>
Corrydown Recumbent Stone Circle (1)
This circle has been disturbed, and only the recumbent, the furthest right in this view, remains in its original position. See LinkExternal link for a fuller description. NJ7044 : Corrydown Recumbent Stone Circle (2)
Corrydown Recumbent Stone Circle (2) The large stone on the right is the recumbent, the only stone of the circle that is still in its original position. On its left is one of the flankers, no longer standing upright. See <span class="nowrap"><a title="http://canmore.rcahms.gov.uk/en/site/19197/details/corrydown/" rel="nofollow ugc noopener" href="http://canmore.rcahms.gov.uk/en/site/19197/details/corrydown/">Link</a><img style="margin-left:2px;" alt="External link" title="External link - shift click to open in new window" src="https://s1.geograph.org.uk/img/external.png" width="10" height="10"/></span> for a fuller description. <a href="https://www.geograph.org.uk/photo/4423399">NJ7044 : Corrydown Recumbent Stone Circle (3)</a>
Corrydown Recumbent Stone Circle (2)
The large stone on the right is the recumbent, the only stone of the circle that is still in its original position. On its left is one of the flankers, no longer standing upright. See LinkExternal link for a fuller description. NJ7044 : Corrydown Recumbent Stone Circle (3)
Corrydown Recumbent Stone Circle (3) The closest stone is the recumbent, which is the only one in its original position. Behind and to its right is one of the flankers and to its right again one of the small stones thought to have symbolised the entrance to a tomb. Another fallen stone is at the far corner of the fenced enclosure. See <span class="nowrap"><a title="http://canmore.rcahms.gov.uk/en/site/19197/details/corrydown/" rel="nofollow ugc noopener" href="http://canmore.rcahms.gov.uk/en/site/19197/details/corrydown/">Link</a><img style="margin-left:2px;" alt="External link" title="External link - shift click to open in new window" src="https://s1.geograph.org.uk/img/external.png" width="10" height="10"/></span> for a fuller description. <a href="https://www.geograph.org.uk/photo/4423405">NJ7044 : Corrydown Recumbent Stone Circle (4)</a>
Corrydown Recumbent Stone Circle (3)
The closest stone is the recumbent, which is the only one in its original position. Behind and to its right is one of the flankers and to its right again one of the small stones thought to have symbolised the entrance to a tomb. Another fallen stone is at the far corner of the fenced enclosure. See LinkExternal link for a fuller description. NJ7044 : Corrydown Recumbent Stone Circle (4)
Corrydown Recumbent Stone Circle (4) The closest stone is one of the flankers, which would originally have stood upright and would have been paired with a similar stone at the other end of the recumbent, which is visible behind it and is the only stone still in situ. See <span class="nowrap"><a title="http://canmore.rcahms.gov.uk/en/site/19197/details/corrydown/" rel="nofollow ugc noopener" href="http://canmore.rcahms.gov.uk/en/site/19197/details/corrydown/">Link</a><img style="margin-left:2px;" alt="External link" title="External link - shift click to open in new window" src="https://s1.geograph.org.uk/img/external.png" width="10" height="10"/></span> for a fuller description. <a href="https://www.geograph.org.uk/photo/4423414">NJ7044 : Corrydown Recumbent Stone Circle (5)</a>
Corrydown Recumbent Stone Circle (4)
The closest stone is one of the flankers, which would originally have stood upright and would have been paired with a similar stone at the other end of the recumbent, which is visible behind it and is the only stone still in situ. See LinkExternal link for a fuller description. NJ7044 : Corrydown Recumbent Stone Circle (5)
Corrydown Recumbent Stone Circle (5) Most of the stones of the Corrydown circle are coarse-grained conglomerate with pebble-sized white quartz clasts. This is part of the flanker. The recumbent, however, is of a different rock type. Pound coin for scale. Compare with <a href="https://www.geograph.org.uk/photo/4423423">NJ7044 : Corrydown Recumbent Stone Circle (6)</a>. See <span class="nowrap"><a title="http://canmore.rcahms.gov.uk/en/site/19197/details/corrydown/" rel="nofollow ugc noopener" href="http://canmore.rcahms.gov.uk/en/site/19197/details/corrydown/">Link</a><img style="margin-left:2px;" alt="External link" title="External link - shift click to open in new window" src="https://s1.geograph.org.uk/img/external.png" width="10" height="10"/></span> for a fuller description.
Corrydown Recumbent Stone Circle (5)
Most of the stones of the Corrydown circle are coarse-grained conglomerate with pebble-sized white quartz clasts. This is part of the flanker. The recumbent, however, is of a different rock type. Pound coin for scale. Compare with NJ7044 : Corrydown Recumbent Stone Circle (6). See LinkExternal link for a fuller description.
Corrydown Recumbent Stone Circle (6) This is part of the recumbent. Comparing it with <a href="https://www.geograph.org.uk/photo/4423414">NJ7044 : Corrydown Recumbent Stone Circle (5)</a>, it is obviously a finer-grained rock, lacking the white quartz clasts. The white quartz in the lower part of this view is the remains of a vein formed in a crack in the rock after it had formed. Pound coin for scale. See <span class="nowrap"><a title="http://canmore.rcahms.gov.uk/en/site/19197/details/corrydown/" rel="nofollow ugc noopener" href="http://canmore.rcahms.gov.uk/en/site/19197/details/corrydown/">Link</a><img style="margin-left:2px;" alt="External link" title="External link - shift click to open in new window" src="https://s1.geograph.org.uk/img/external.png" width="10" height="10"/></span> for a fuller description. <a href="https://www.geograph.org.uk/photo/4423427">NJ7044 : Corrydown Recumbent Stone Circle (7)</a>
Corrydown Recumbent Stone Circle (6)
This is part of the recumbent. Comparing it with NJ7044 : Corrydown Recumbent Stone Circle (5), it is obviously a finer-grained rock, lacking the white quartz clasts. The white quartz in the lower part of this view is the remains of a vein formed in a crack in the rock after it had formed. Pound coin for scale. See LinkExternal link for a fuller description. NJ7044 : Corrydown Recumbent Stone Circle (7)
Corrydown Recumbent Stone Circle (7) These are the remaining stones in the north arc of the circle. They have all been displaced and are lying on the ground instead of standing up. See <span class="nowrap"><a title="http://canmore.rcahms.gov.uk/en/site/19197/details/corrydown/" rel="nofollow ugc noopener" href="http://canmore.rcahms.gov.uk/en/site/19197/details/corrydown/">Link</a><img style="margin-left:2px;" alt="External link" title="External link - shift click to open in new window" src="https://s1.geograph.org.uk/img/external.png" width="10" height="10"/></span> for a fuller description.  <a href="https://www.geograph.org.uk/photo/4423432">NJ7044 : Corrydown Recumbent Stone Circle (8)</a>
Corrydown Recumbent Stone Circle (7)
These are the remaining stones in the north arc of the circle. They have all been displaced and are lying on the ground instead of standing up. See LinkExternal link for a fuller description. NJ7044 : Corrydown Recumbent Stone Circle (8)
Corrydown Recumbent Stone Circle (8) This is the reciprocal of the view in <a href="https://www.geograph.org.uk/photo/4423399">NJ7044 : Corrydown Recumbent Stone Circle (3)</a>, with the recumbent appearing taller than the flanker in front of it, and the other stones, also fallen or displaced. See <span class="nowrap"><a title="http://canmore.rcahms.gov.uk/en/site/19197/details/corrydown/" rel="nofollow ugc noopener" href="http://canmore.rcahms.gov.uk/en/site/19197/details/corrydown/">Link</a><img style="margin-left:2px;" alt="External link" title="External link - shift click to open in new window" src="https://s1.geograph.org.uk/img/external.png" width="10" height="10"/></span> for a fuller description. <a href="https://www.geograph.org.uk/photo/4423382">NJ7044 : Corrydown Recumbent Stone Circle (1)</a>
Corrydown Recumbent Stone Circle (8)
This is the reciprocal of the view in NJ7044 : Corrydown Recumbent Stone Circle (3), with the recumbent appearing taller than the flanker in front of it, and the other stones, also fallen or displaced. See LinkExternal link for a fuller description. NJ7044 : Corrydown Recumbent Stone Circle (1)
Corrydown Another of the many farm houses abandoned as farms have been amalgamated and agriculture increasingly mechanised.
Corrydown
Another of the many farm houses abandoned as farms have been amalgamated and agriculture increasingly mechanised.
Show me another place!

Haremoss Loch is located at Grid Ref: NJ6844 (Lat: 57.490308, Lng: -2.5206516)

Unitary Authority: Aberdeenshire

Police Authority: North East

What 3 Words

///comedians.dealings.mammals. Near Turriff, Aberdeenshire

Nearby Locations

Haremoss Loch

Related Wikis

Dorlaithers Castle

Dorlaithers Castle was a castle about 2.5 miles (4.0 km) south-west of Turriff, Aberdeenshire, Scotland at Dorlaithers, south of the burn of Gask. It may...

Auchterless

Auchterless (Scottish Gaelic: Uachdar Leasa, meaning the "Upper Part of Less") is a village in Aberdeenshire, Scotland; grid reference NJ 713 416, postcode...

Auldyoch

Auldyoch is a farm in Aberdeenshire, Scotland. == References ==

Banff and Buchan (UK Parliament constituency)

Banff and Buchan is a constituency of the House of Commons, located in the north-east of Scotland within the Aberdeenshire council area. It elects one...

Have you been to Haremoss Loch?

Leave your review of Haremoss Loch below (or comments, questions and feedback).