Wood of Boghead
Wood, Forest in Aberdeenshire
Scotland
Wood of Boghead
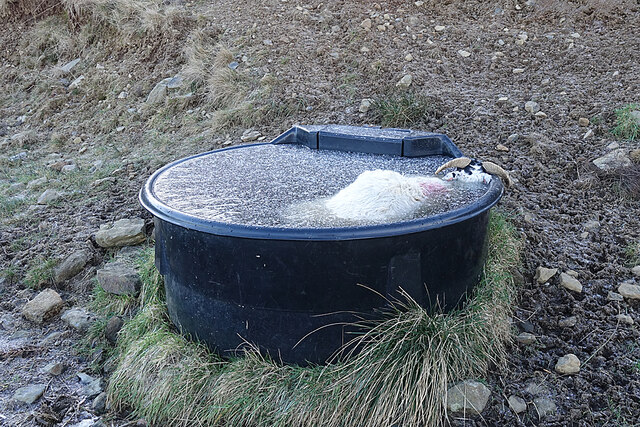
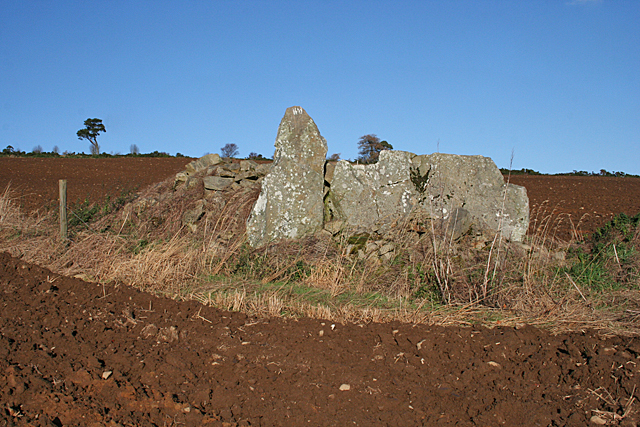
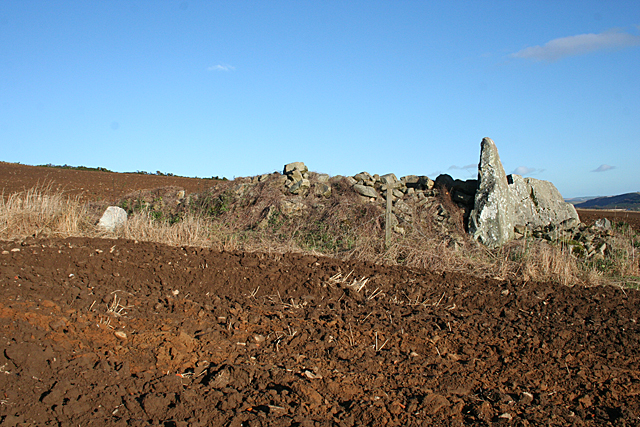
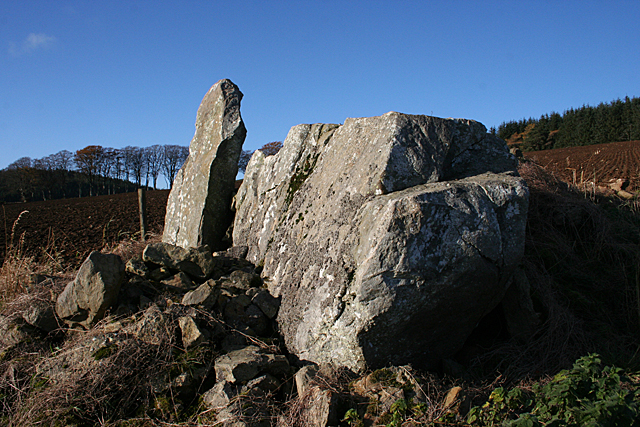
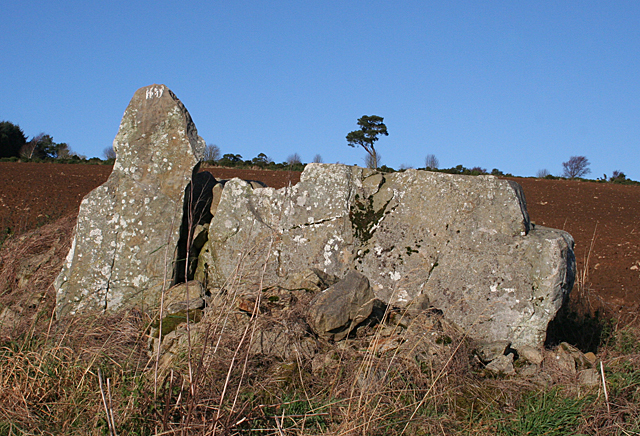
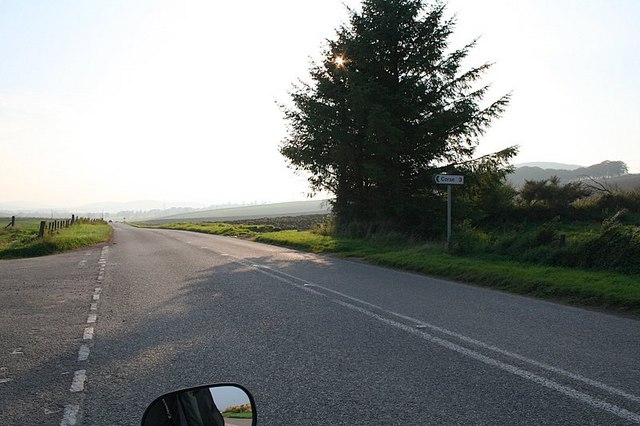
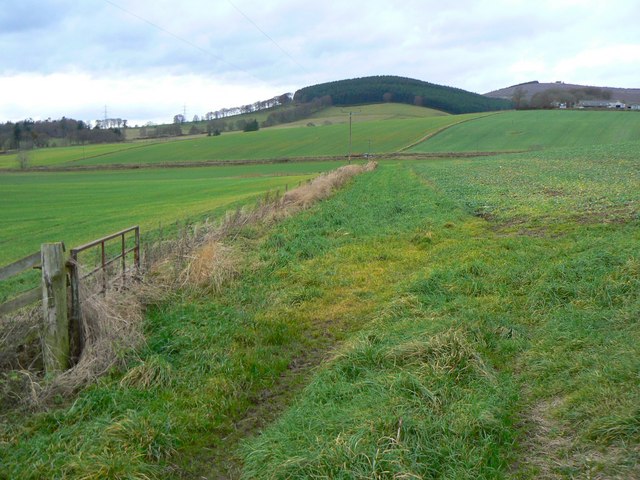
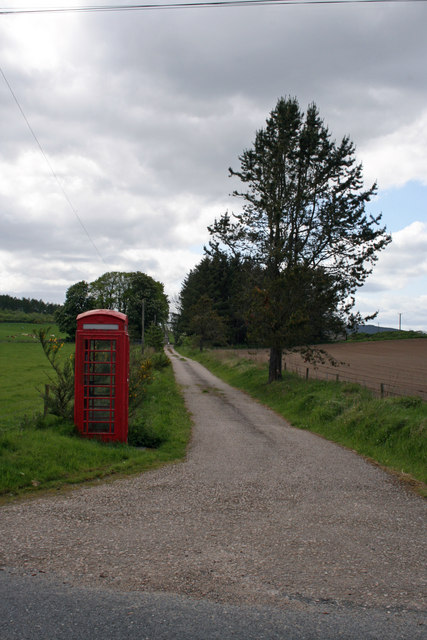
Boghead Wood is a picturesque forest located in Aberdeenshire, Scotland. Covering an area of approximately 200 acres, it is a renowned natural hotspot for locals and visitors alike. The wood is situated near the village of Boghead, offering a tranquil retreat from the hustle and bustle of city life.
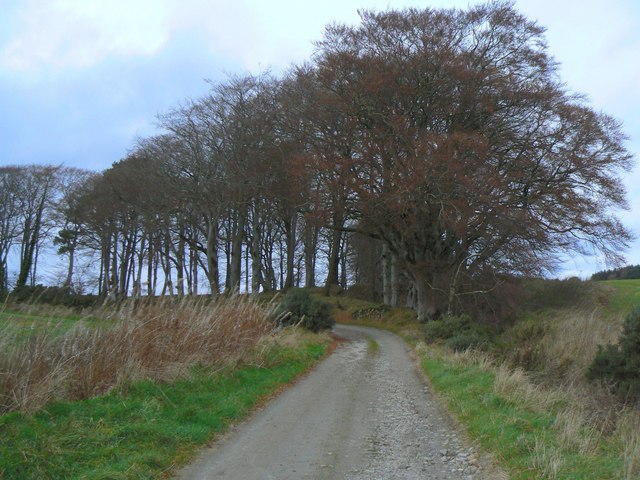
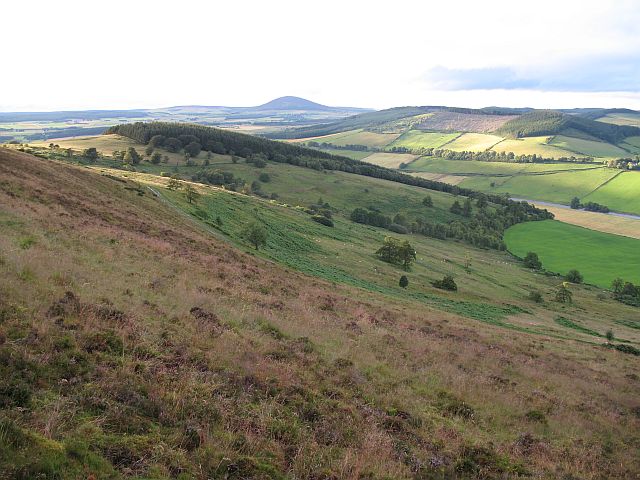
The forest is characterized by its diverse array of tree species, including oak, birch, and pine, which create a rich tapestry of colors throughout the year. The canopy of the wood provides shelter to a variety of wildlife, making it an ideal destination for nature enthusiasts and birdwatchers. Visitors may spot red squirrels scurrying through the trees or hear the melodic songs of woodland birds.
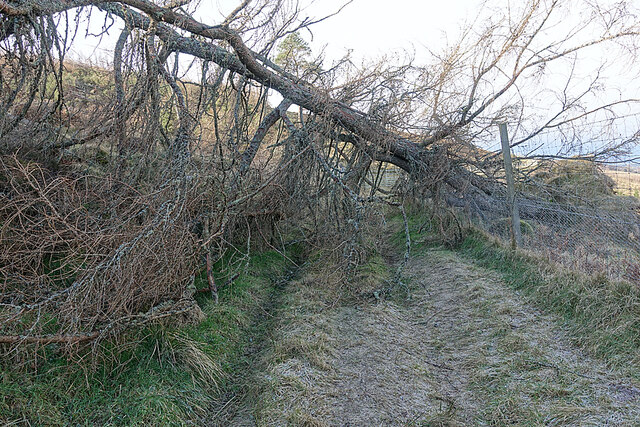
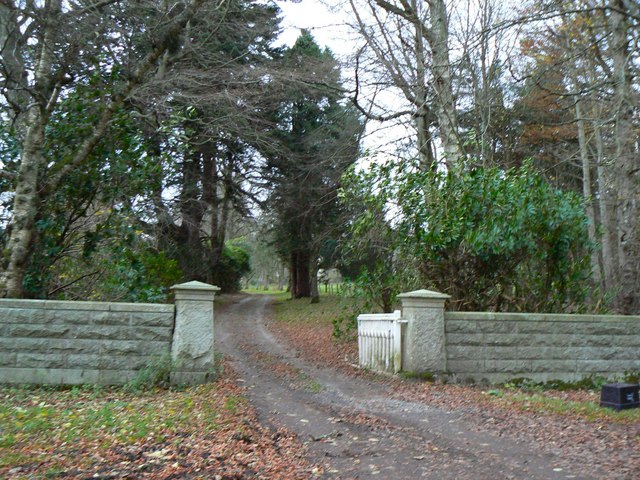
The wood is crisscrossed with a network of well-maintained trails, allowing visitors to explore its natural beauty at their own pace. These paths wind through the forest, offering glimpses of enchanting vistas and peaceful glades. In spring, the forest floor is carpeted with vibrant wildflowers, adding to the charm of the landscape.
Boghead Wood is not only a haven for wildlife but also a popular spot for recreational activities. It offers opportunities for hiking, jogging, and cycling, with designated trails catering to different levels of fitness and ability. The forest also boasts picnic areas and designated camping spots, allowing visitors to immerse themselves fully in the natural surroundings.
Overall, Boghead Wood in Aberdeenshire is a delightful destination for nature lovers and outdoor enthusiasts. Its diverse flora and fauna, well-maintained trails, and recreational facilities make it an ideal place to unwind and connect with nature.
If you have any feedback on the listing, please let us know in the comments section below.
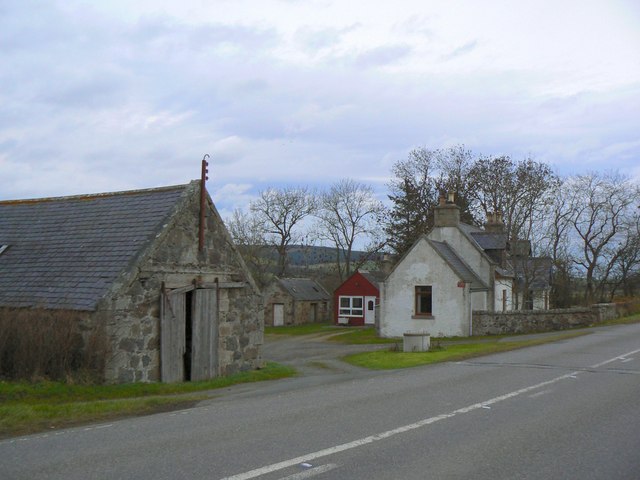
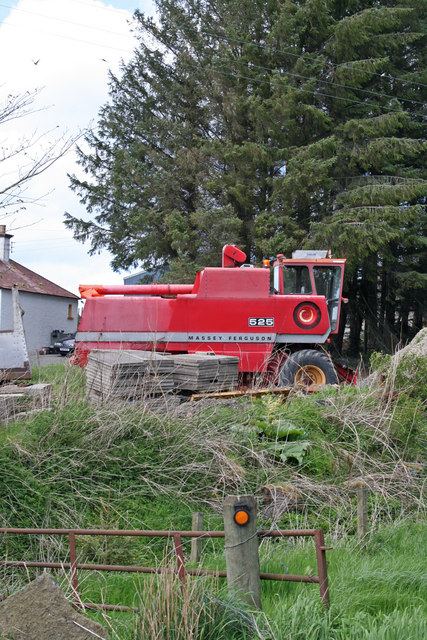
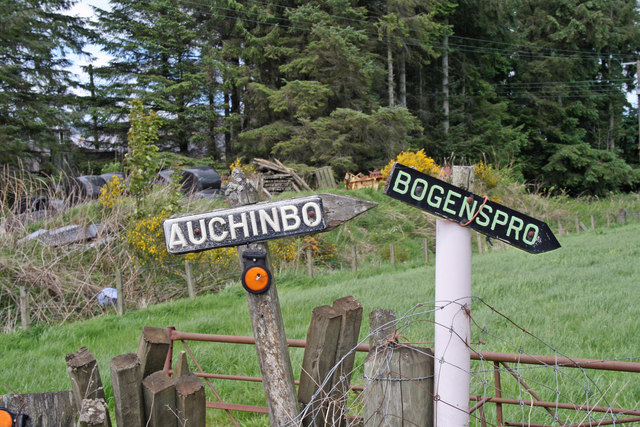
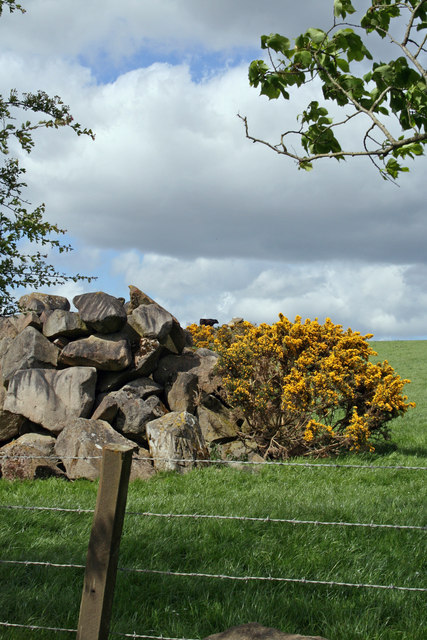
Wood of Boghead Images
Images are sourced within 2km of 57.485099/-2.7196916 or Grid Reference NJ5644. Thanks to Geograph Open Source API. All images are credited.

Wood of Boghead is located at Grid Ref: NJ5644 (Lat: 57.485099, Lng: -2.7196916)
Unitary Authority: Aberdeenshire
Police Authority: North East
What 3 Words
///porridge.farms.twist. Near Huntly, Aberdeenshire
Nearby Locations
Related Wikis

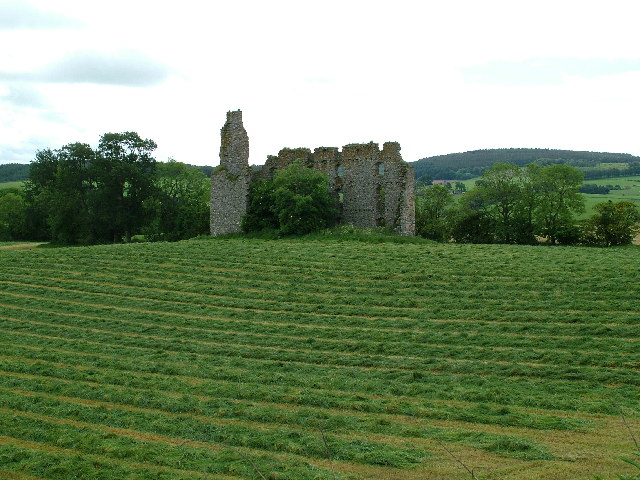
Cobairdy Castle
Cobairdy Castle was a 16th-century tower house, about 4 miles (6.4 km) north-east of Huntly, Aberdeenshire, Scotland, west of Burn of Connairdy. It may...
Fourman Hill
Fourman Hill is a hill located west of Bogniebrae, Aberdeenshire, Scotland. It has an elevation of 1,127 feet (344 m). A cairn near the summit marked the...
Mountains Burn
Mountains Burn is a burn which marks the boundary of the parish of Huntly, Aberdeenshire, Scotland. == References ==
Bogniebrae
Bogniebrae () is a small rural settlement in Aberdeenshire, Scotland. It is located at the junction of the A97 and B9001 roads, six miles (ten kilometres...

Bognie Castle
Bognie Castle (also called Conzie Castle) is a ruined castle near Huntly and Banff in the Aberdeenshire region of Scotland. It was built in the 17th century...

Lessendrum
Lessendrum is a ruinous fortified house situated 7.65 kilometres (4.75 mi) to the north of Huntly, Aberdeenshire, Scotland. It is on the Buildings at Risk...
Yonder Bognie
Yonder Bognie is a stone circle in Aberdeenshire, Scotland. It is located in an agricultural field under private ownership and is a scheduled monument...
Knichtland Burn
Knichtland Burn is a burn which marks the boundary of the parish of Huntly, Aberdeenshire, Scotland. == References ==
Nearby Amenities
Located within 500m of 57.485099,-2.7196916Have you been to Wood of Boghead?
Leave your review of Wood of Boghead below (or comments, questions and feedback).